
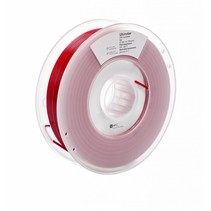
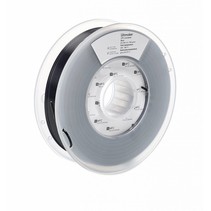
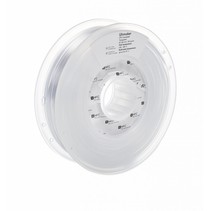
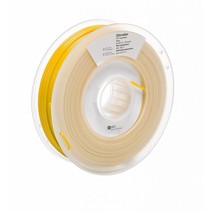
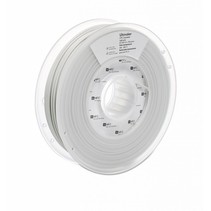
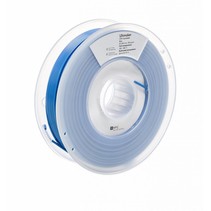
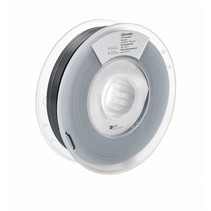
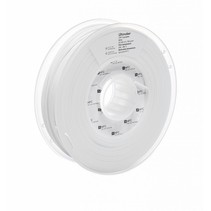
UltiMaker CPE

- Marktleider in 3D Printing
- Hoogwaardige service en support
- Fysieke showrooms
How to print with Ultimaker CPE
CPE (co-polyester) is a chemical resistant and relatively tough material widely used for functional prototyping and modeling. This co-polyester is similar to PETg, but with enhanced chemical resistance. Here you will learn how to achieve the best print quality with Ultimaker CPE.
Note: The information provided here applies to Ultimaker CPE. Similar quality cannot be guaranteed with third-party filaments.
Compatibility
Ultimaker CPE can be printed on all Ultimaker 3D printers with a heated build plate. In the printer list below, you can see which print cores / nozzles it is compatible with.
| Printer | Compatible print cores / nozzles |
| Ultimaker S5 (Pro Bundle) | AA 0.25, AA 0.4, AA 0.8 |
| Ultimaker S3 | AA 0.25, AA 0.4, AA 0.8 |
| Ultimaker 3 (Extended) | AA 0.25, AA 0.4, AA 0.8 |
| Ultimaker 2+ Connect | 0.25, 0.4, 0.6, 0.8 |
| Ultimaker 2+ (Extended) | 0.25, 0.4, 0.6, 0.8 |
| Ultimaker 2 (Extended) | 0.4 |
| Ultimaker Original+ | 0.4 |
Note: Ultimaker CPE is not supported on the Ultimaker 2 Go and Ultimaker Original because of the lack of a heated build plate
Ultimaker CPE has optimised settings for the Ultimaker Pro Bundle, Air Manager and Material Station. This ensures a good end of filament and end of print experience in the Material Station and an optimal build environment with the Air Manager. Please make sure to use the latest version of Ultimaker Cura and ensure the firmware has the latest update.
On the Ultimaker S5 and Ultimaker 3, CPE can be printed in combination with PVA, Breakaway, or another color of CPE as well.

The experimental and not supported combinations have not been verified, since limited use cases are available. Results are dependent on the model type that is used.
Recommended settings and configuration
Note: Always use the latest version of Ultimaker Cura and make sure that your 3D printer is updated with the latest firmware version to include the correct material profile for Ultimaker CPE.
Temperatures
The recommended nozzle temperature for CPE is between 230 and 260 °C. The exact temperature per profile can be found in Ultimaker Cura and depends on the printer, nozzle size, and profile you select. The build plate temperature also slightly differs per printer and nozzle size, but is always between 70 and 80 °C.
Note: The correct temperatures are automatically used based on the printer, nozzle size, and profile you select in Ultimaker Cura.
Adhesion
Although Ultimaker CPE adheres well to the glass plate, it does tend to warp. For optimal adhesion and glass plate protection, it is important to use the correct adhesion method.
For easy prints, apply a thin layer of glue to the glass plate using the glue provided in the accessory box of your 3D printer. In addition to its adhesive properties, the glue serves as a protective layer for the glass plate. Not using the glue results in a high risk of chipping the glass plate when removing the print.
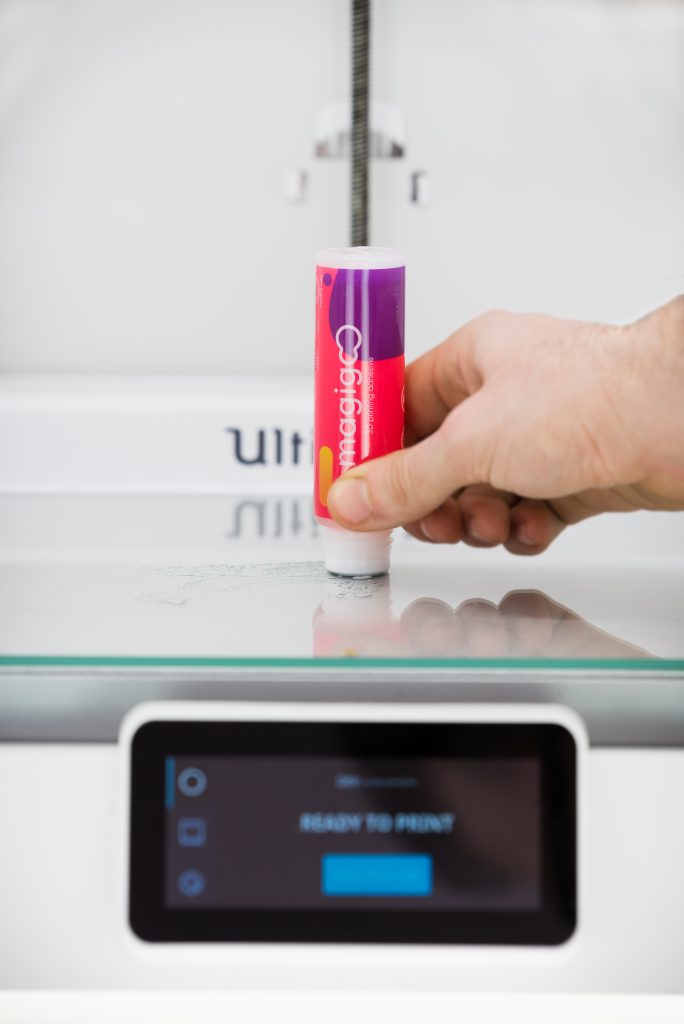
To minimize warping when printing more complex prints with Ultimaker CPE, it is recommended to apply a thin layer of Magigoo original glue to the glass plate.
Caution: The addition of glue is recommended to improve adhesion and thereby prevent the chance of print failure and printer damage. Additionally, the use of glue can prevent overadhesion that can lead to damage to the build plate.
In preconfigured Ultimaker Cura profiles, the default build plate adhesion method is a brim. A brim is made of a few extra printed lines around the 3D print on the initial layer to improve adhesion and avoid warping.
After printing, wait until the build plate has cooled down before removing the 3D print.
Print environment
Ultimaker CPE filament prints reliably, therefore additional accessories such as the front enclosure included in the Advanced 3D Printing Kit are not necessary, unless you are printing large or thin-walled objects. In this case, the front enclosure will help avoid layer splitting in your 3D prints and provides a controlled print environment for more consistent and reliable results. If you use an Ultimaker S5, the glass doors will help protecting the material from unwanted air flows within the print environment.
Health and safety
Ultimaker CPE emits low levels of gases and particles when used in accordance with the temperatures in the table above. To ensure a comfortable and healthy working environment, we recommend 3D printing in a well-ventilated area.